Why Bagels?
Ten years ago I moved to the west coast of Canada. While I was thoroughly enjoying my new life with larger mountains and more temperate weather, I couldn't quite shake that feeling like something essential was missing. That something was delicious bagels, which I frankly find hard to live without. Most places I had lived either had one decent bagel shop, or access to frozen bagels that had been shipped up from larger cities like Toronto (yes, Toronto has many great bagel shops). While trying to satisfy this craving, I had also started experimenting with sourdough bread making. Through my research I had discovered that cold fermentation often contributes to a bagel's unique favor and texture. I found that using sourdough starter was another great way to control the acidity of the dough. If you don't have a sourdough on hand you can substitute it with 1/2 teaspoon of active dry yeast. I also kneed everything by hand, although you can use a stand mixer for the final dough. Enjoy!
Recipe
Poolish
- 150 grams of whole wheat flour
- 50 grams of bread flour
- 335 grams water
- 40 grams sourdough starter (recently refreshed)
Final Dough
- 9 grams of salt
- 30 grams diastatic malt powder
- 20 grams sugar
- 30 grams honey
- 45 grams vital wheat gluten
- 380 bread flour
Boiling Bath
In a pot of water add:
- 1 tbsp bakerspoon (or 1 tsp of baking soda)
- 3 tbsp honey
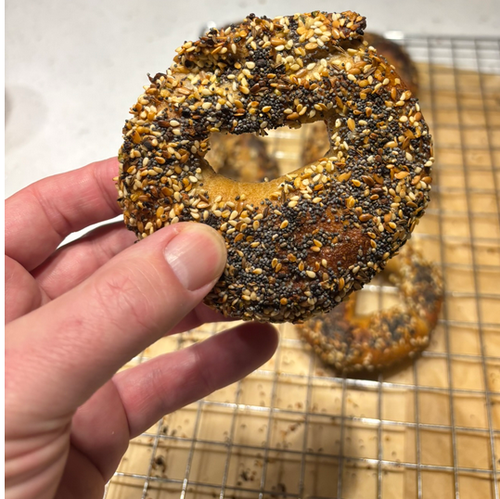
Everything Mix (optional)
This is just a general guide. You can use whatever seasoning or ratios you wish.
- 4 tbsp Poppy Seeds
- 4 tbsp Sesame Seeds
- 1 tbsp Golden Flax Seeds
- 1 tbsp Onion Flake
- 1/4 tbsp Garlic Flake
- 1/4 tbsp Caraway Seeds
- 1/2 tsp Course Sea Salt (or Malten Salt)
Directions
Poolish:
Prep time: 10 minutes
Total time: 4 to 8 hours
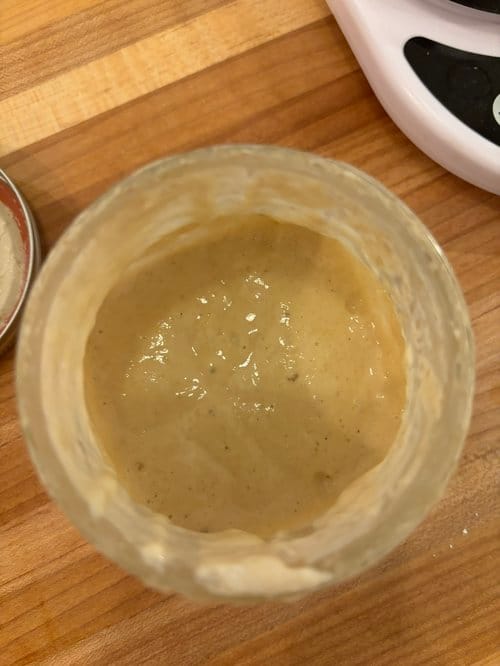
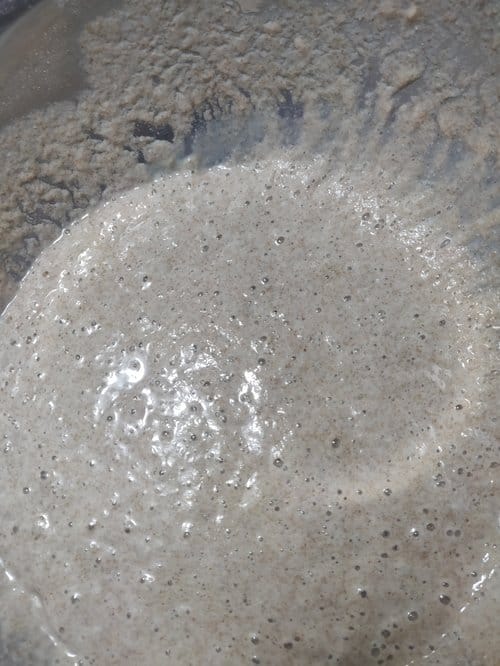
In a large bowl mix the whole wheat flour, bread flour, water and sourdough starter. Wait between 4 and 8 hours for the poolish to become bubbly. In winter I usually do this step the evening before I make the bagels.
Final Dough:
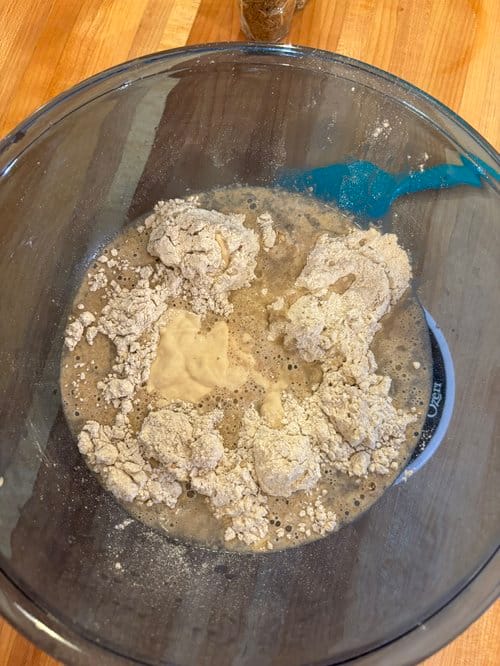
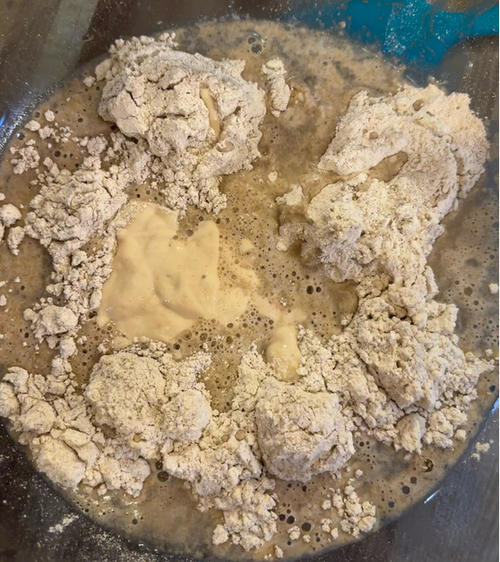
Add the malt powder, salt, honey, and sugar, and vital wheat glut to the poolish. Add the bread flour and mix with a wooden spoon until all the ingredients are loosely combined. Kneed by hand for approximately 5 minutes. Cover the bowl and let sit for approximately 5 minutes. Kneed again until the it becomes elastic. When stretched, you should be able to see through it. This is often called the windowpane test. Let the dough rise for 2 hours.
Dividing, Shaping
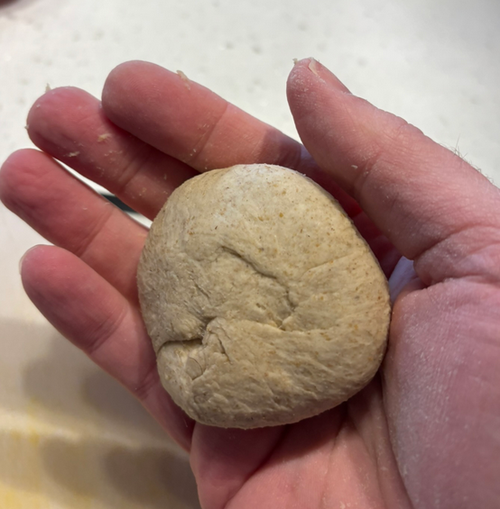
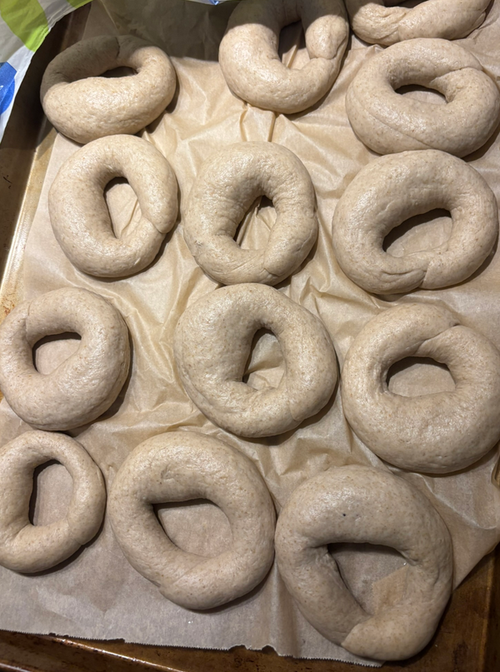
1) Using a knife, divide the dough into 90 gram pieces and shape into round dough balls. Place each dough ball on a baking sheet and keep covered. I recommend lining the baking sheet with parchment to prevent sticking. I also use small garbage bags to cover rather that plastic wrap, but that's entirely up to you.
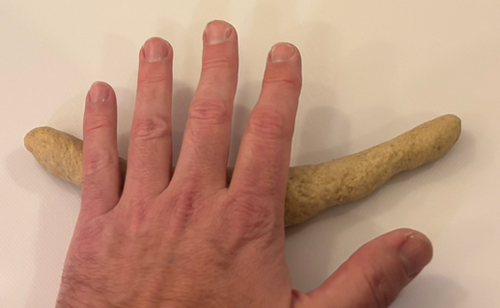
2) Roll each ball into a 30 cm (1 foot) sausage-like strip. I find it easier to apply pressure from the centre, working my way to the outside.
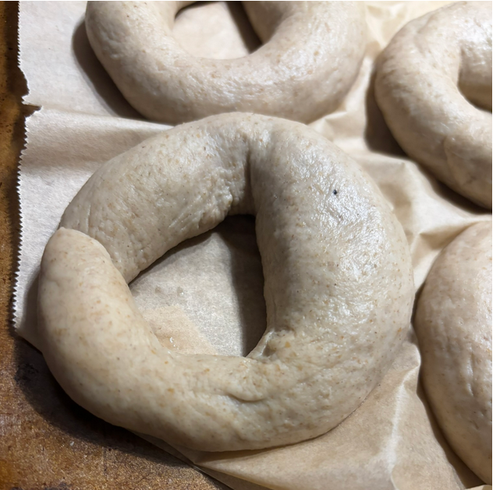
3) Push the ends together and then roll on your work surface until you've formed the final bagel shape.
Note: It is essential to keep any bagel you are not currently working on completely covered. The dough pieces can dry out very quickly making the dough much more difficult to work with.

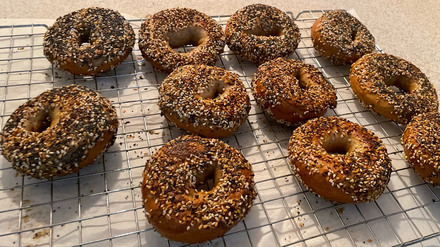
When finished shaping all 12 bagels, let rest at room temperature for approximately two hours until they gently risen. To test the proof, you can place a bagel in water to see if it floats. Admittedly, I rarely do this anymore.They should look similar to the images below.
Cold Fermentation
Place your covered tray of bagels into the fridge and let cold ferment for at least 8 hours. This will dramatically improve the flavour and texture of the bagel, especially in the warmer months when dough rises much faster at room temperature.
Preheat The Oven
Preheat your oven to 500F (260C). If you have a baking stone it may take up to 45 minutes to get it to temperature.
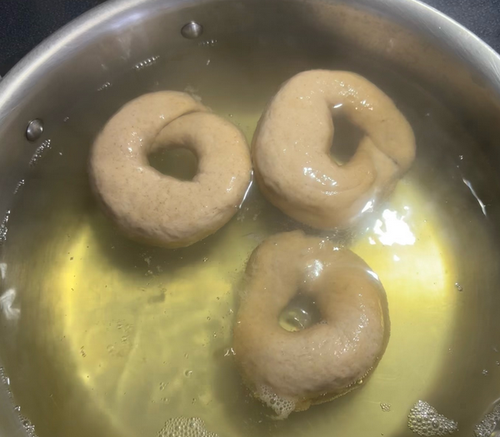
Boiling and Seasoning
1) Pour some of your seasoning mix onto a plate.
2) Bring a large pot of water to a boil with the baking soda (or baking powder), and the honey. *
*I usually choose a softer boil, not a rolling one, although I've seen many recipes that use this method. I find it easy enough to achieve the desired texture without destroying the dough. Also I recommend using a spider to hand the boiling process, but you can also use a large spoon.
3) Adding three bagels at a time boil each bagel for 2 minutes a side. When the four minutes are up, please each bagel into the season plate and cover both sides of the bagel. When finished you can place the bagels back on your baking sheet.
Baking
Place 6 bagels in the oven, then turn the heat down to 475F (245C). Bake for 6 minutes, flip the bagels over and bake for another 6 minutes. The bagels should have a nice char on them. If they don't cook on each side for an extra minute or two. When finished, place on a cooling rack and let sit for 20 minutes.
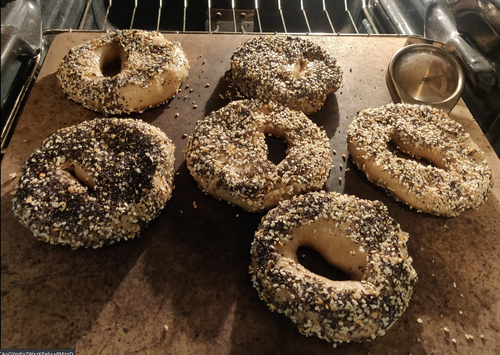

Note: If using a baking stone, I recommend cleaning off the excess seeds between batches. I use a dough scraper and and plate. This prevents burnt seeds from getting onto your 2nd batch of bagels. Also Since the over door has been open for a bit, I usually put the temperate back at 500F (260C) for 8 minutes.
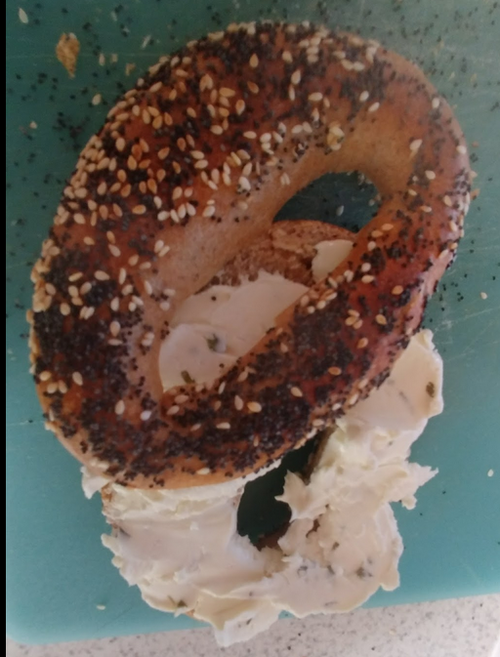
Serving
Don't be stingy with your cream cheese. This is an important rule. Slather it on. I prefer scallion cream cheese but you do you. I find the Liberte brand in Canada is the best, but you can't go wrong with Philadelphia. Experiment with what you look: lox, tomato, butter.
Storing The Bagels
Short term: I store bagels in a paper bag. Plastic bags seem to make the crust get soft. I have no idea why but this is my experience.
Long Term: You'll probably also notice that after about two days of room temperate storage the bagels start to stale. For longer-term storage I slice each bagel in half, place in paper bag. Then I place that paper bag in a zip-lock Freezer bag, and place in the freezer.
Notes
Diastatic malt powder: Depending on your location diastatic malt powder can be tricky to find. While it adds a nice sweetness to the bagel it is not strictly essential. I've I've linked to one site that sells it, or check out the Evil Empire which I will not name. If you can't find it online in your location, you can either try making your own or skip it entirely. Remember, necessity is the mother of invention!
Vital Wheat Gluten: Part of what gives a bagel its signature chewiness is the high gluten content of the dough. Vital wheat gluten (aka bread improver) has used for centuries. It's essentially bread flour with most of its starch washed off to give a higher protein content. It can be omitted by substituting bread flour.
Sourdough Starter: Lots has been said on sourdough starter and how to make one. Here's one article I found helpful many years ago.
What's with the sugar? I've found sugar helps develop the hard crust on the bagel. If you're not down with this, you can alter the recipe.